
Setting up the Epson WF-100 Printer for the Home-Care Physical Therapist
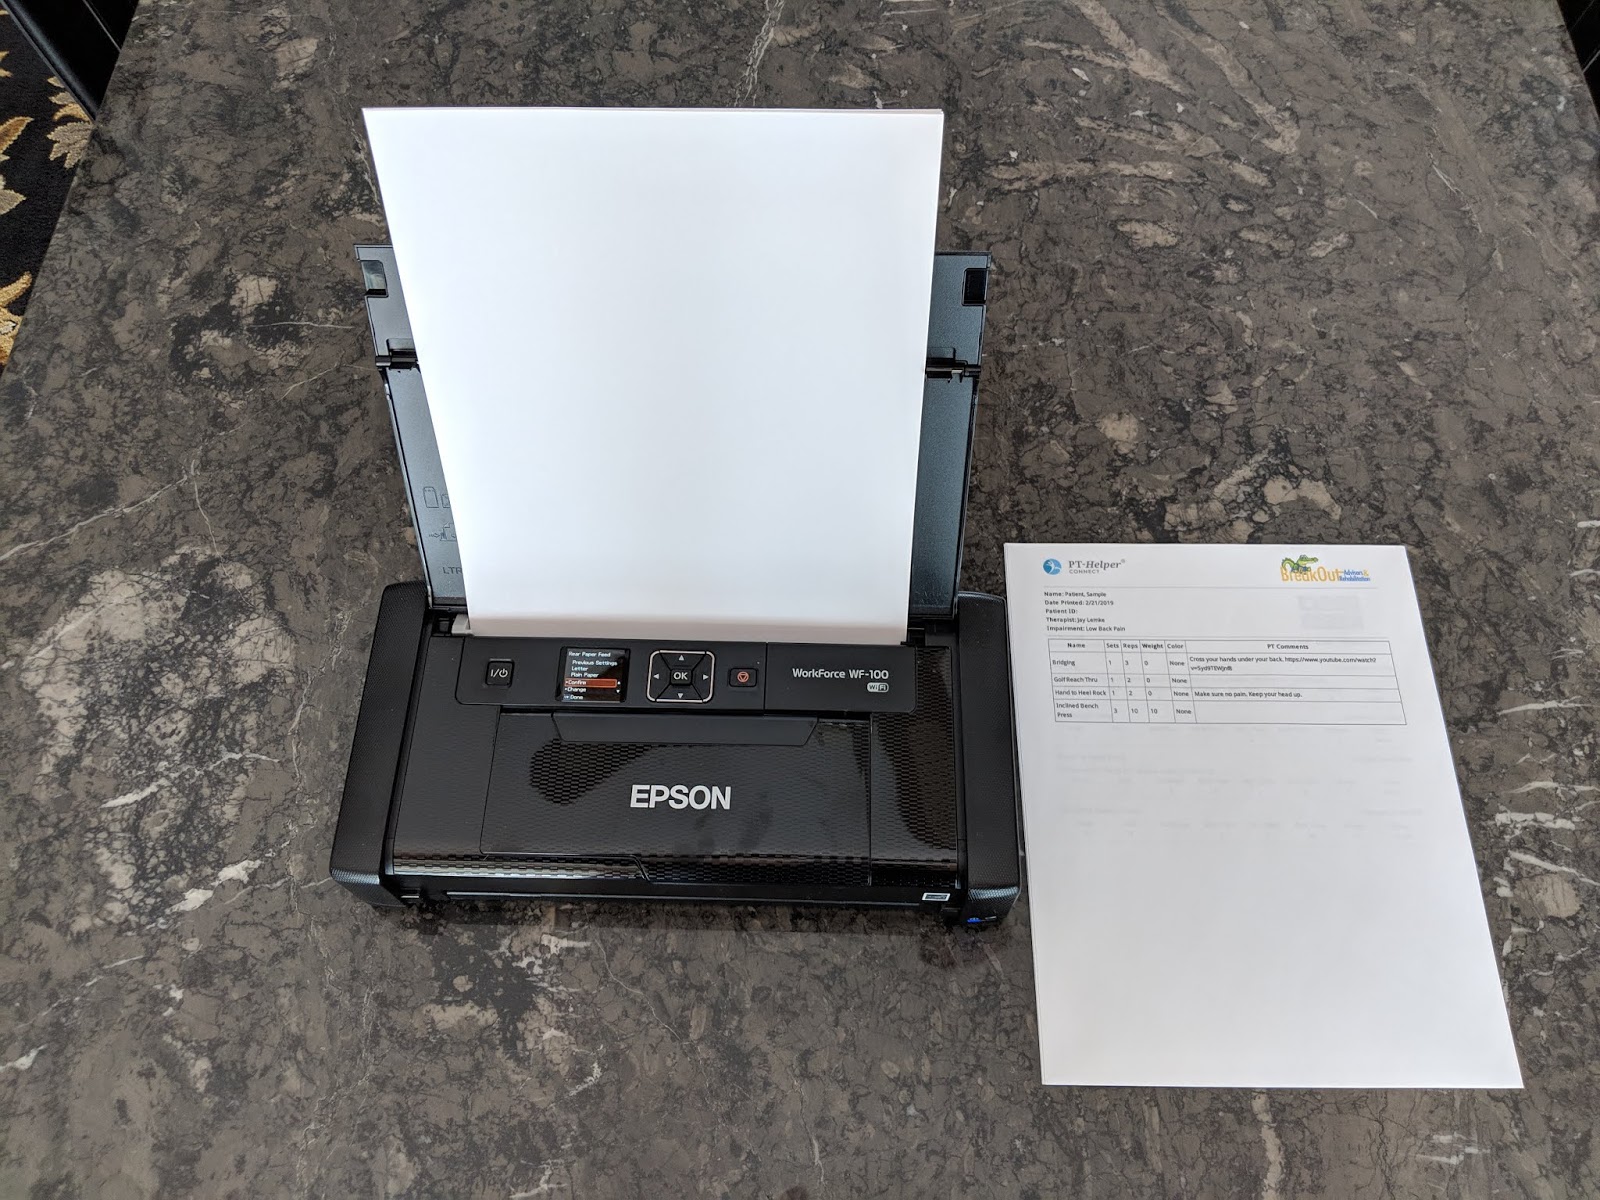
Having decided upon the Epson WF-100 to evaluate it’s usability for the home-care therapist, we discovered that is was reasonably easy to setup with both Android and iOS devices. The steps we took were:
- Plug the printer into the wall to charge up the battery. Note that you can also charge up the battery with a USB cable which is a nice alternative when travelling between patients. It’s inexpensive to purchase a USB car charger that plugs into the cigarette lighter port of your car to charge the printer.
- Turn on the printer and select the language on the LCD Screen. Default is English.
- Follow the Quick Start guide to install the ink cartridges. Note that you need to install both the black ink and color ink cartridges. Press OK. Wait about 4 minutes for the printer to complete ink priming.
- Setup Wi-Fi Direct on the printer. Wi-Fi Direct allows your smartphone to connect to the printer without cables or using your patient’s Wi-Fi network or using your phone as a Wi-Fi Hotspot.
- On the printer, press the down arrow
 on the control panel once until Wi-Fi Setup is highlighted in the LCD screen. Press OK on the printer’s control panel.


- Press the right arrowfive times until “Wi-Fi Direct Setup 6/6” is displayed in the Wi-Fi Setup Wizard. Press OK.


- Press OK three times until the network SSID and Password are displayed.
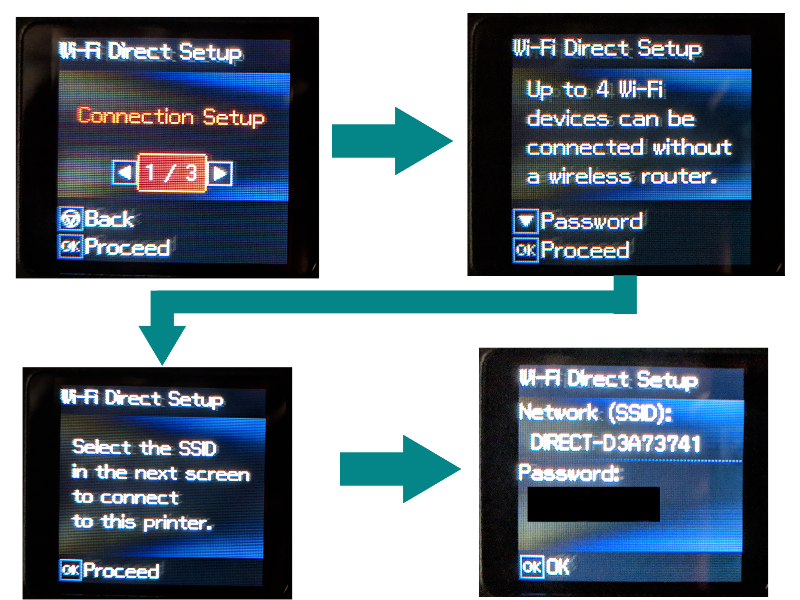
- Connect to this Wi-Fi network using the provided password on your smartphone’s Setting Menu. Note that your smartphone may indicate that you are not connected to the Internet but that’s OK.
iOS Set Up
- Install Epson iPrint and Epson Printer Finder in the Apple App Store.
- Make sure that you are connected to the printer’s Wi-Fi network.
- Open Epson iPrint
- Press ‘Agree’ on the Software License Agreement and Privacy Statement page
- Press ‘OK’ on About Usage Survey page
- Make sure WF-100 printer is found on the top of the page

iOS Printing from Chrome Browser
Open your preferred browser. In this example, we use Chrome.
- Login to your PT-Helper CONNECT account
- Select or create a patient profile
- Select or create a patient treatment plan. Make sure that you are on the Exercise Details page.
- Select the Print button to create a PDF file in a new tab on Chrome
- Select the symbol at the top right of the screen


- Slide the lower option bar to the left to find the print symbol. Select the print symbol.

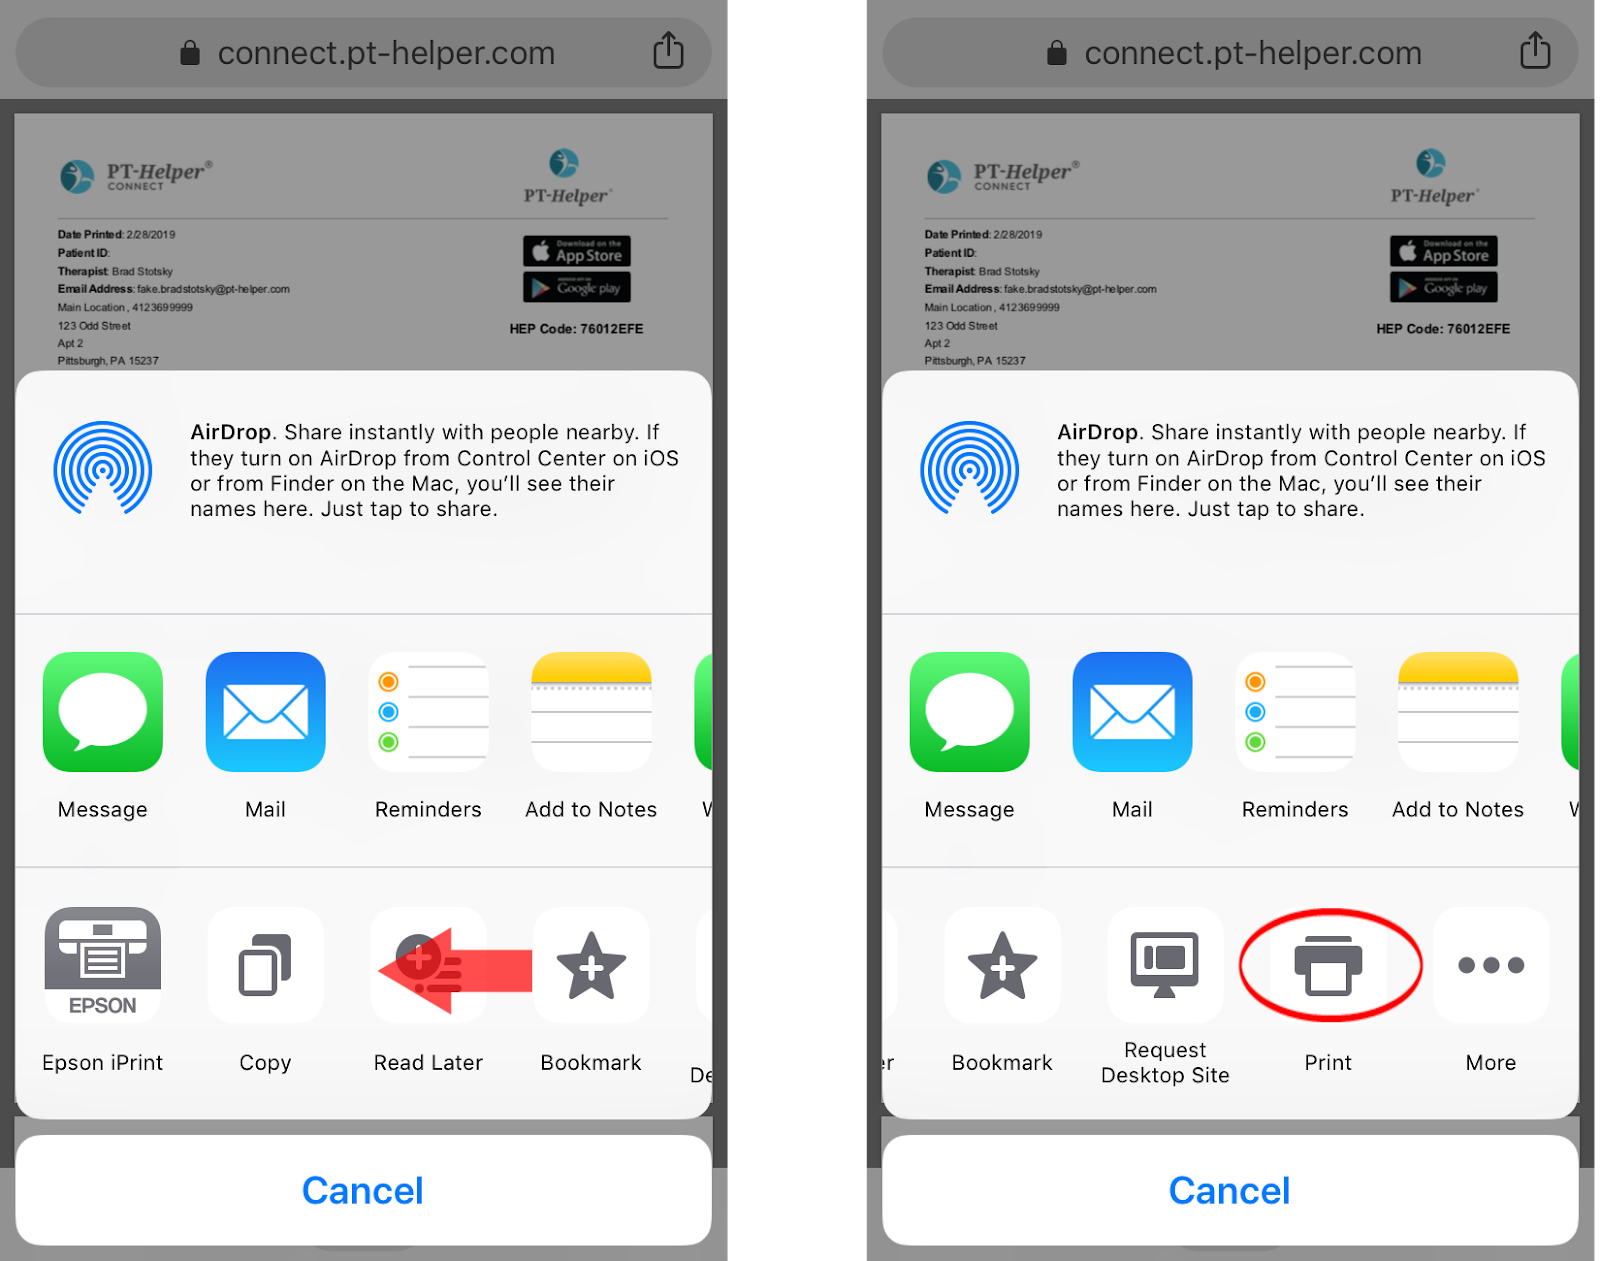
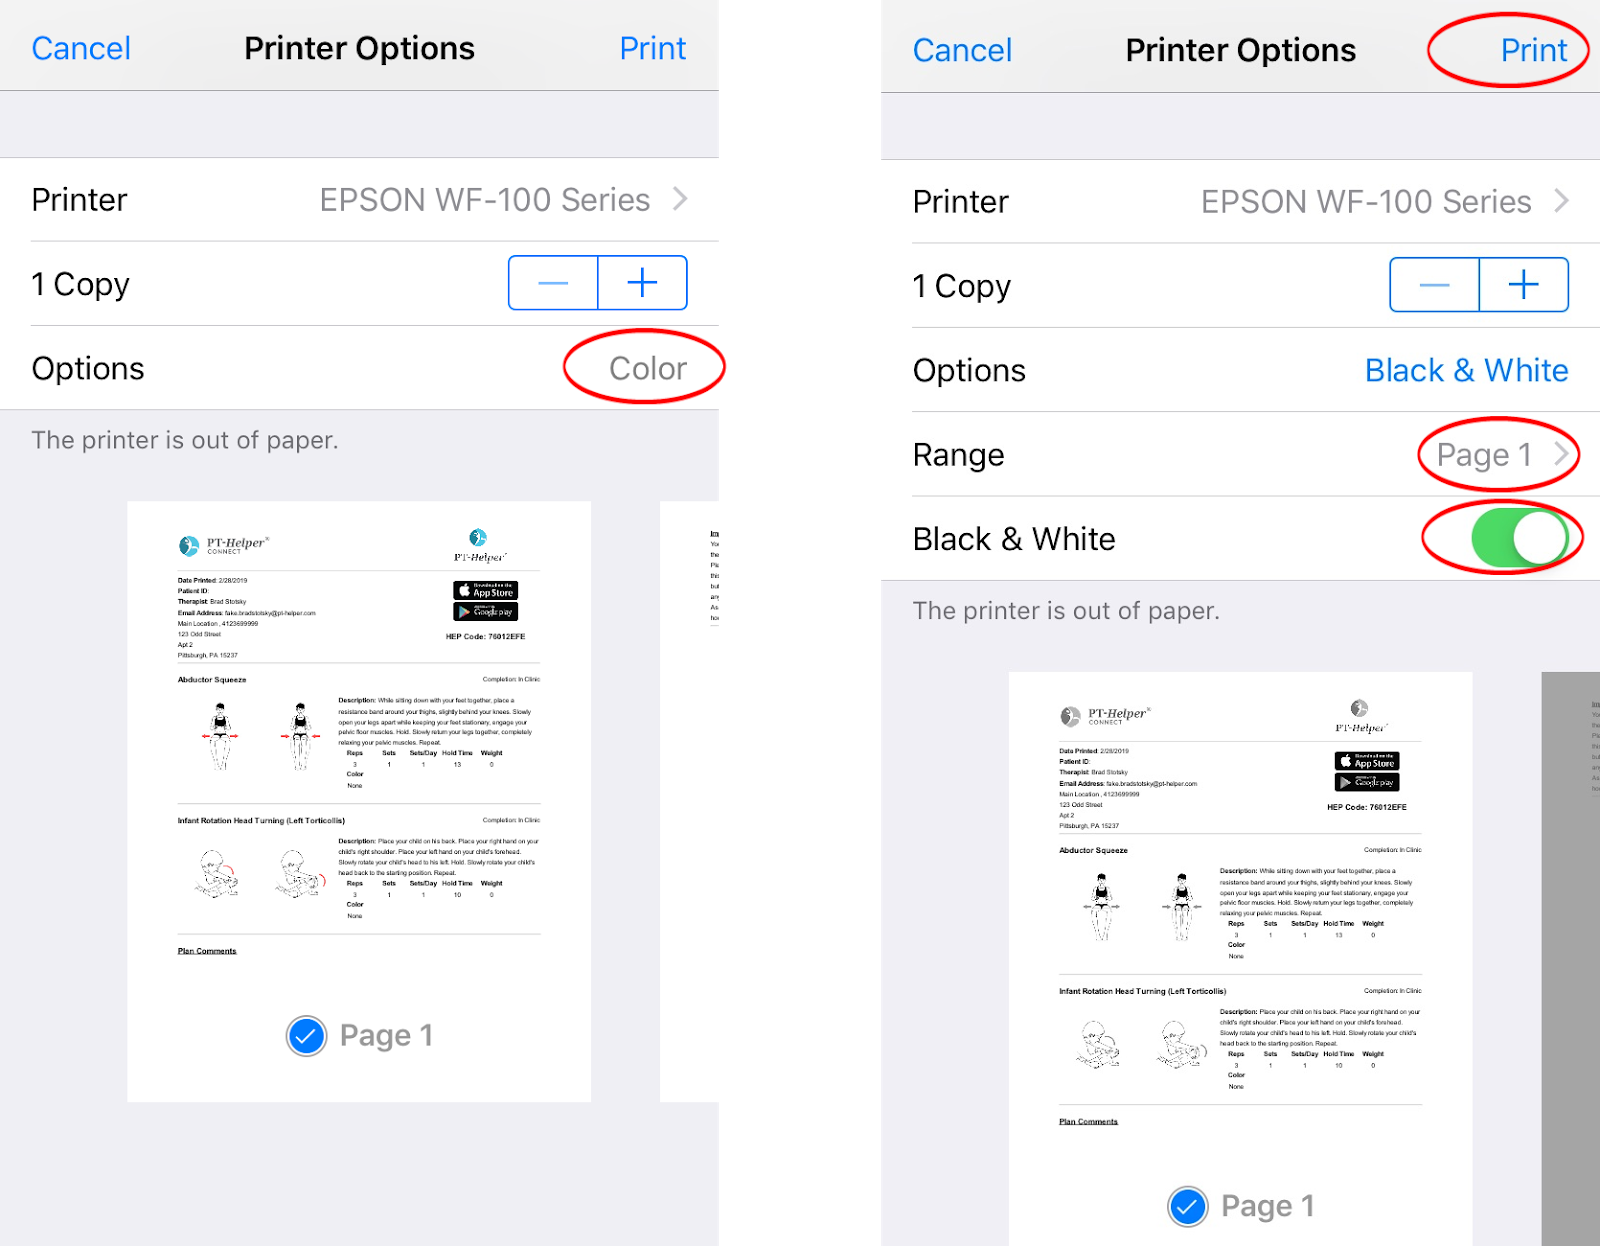
- Press ‘Printer’ to find the EPSON WF-100 Series if it is not currently displayed
- Select the Options ‘Color’ to enable the option to change the print out to black and white as well as the option to change which pages are printed. Note that B&W printouts will save on the color ink.
- Press ‘Print’ at the top right of the screen to print.
Android Set Up
- Install Epson iPrint and Epson Print Enabler from the Google Play Store.
- Make sure that you are connected to the printer’s Wi-Fi network.
- Open Epson iPrint
- Press ‘Agree’ on the Software License Agreement and Privacy Statement page
- Press ‘OK’ on About Usage Survey page
- Make sure WF-100 printer is found on the top of the page

Android Printing from Chrome Browser
Open your preferred browser. In this example, we use Chrome.
- Login to your PT-Helper CONNECT account
- Select or create a patient profile
- Select or create a patient treatment plan. Make sure that you are on the Exercise Details page.
- Select the Print button to create a PDF file in a new tab on Chrome
- Select the symbol at the top right of the screen


- Select ‘Print’ in the pull-down menu. Make sure the Epson WF-100 Series is displayed at the top of screen.

- Select the symbol to display the printer options


- Select ‘Color’ to change the print out to black and white. Note that B&W printouts will save on the color ink.
- Select the Pages “All 3” pull-down menu to change the range of pages that you want to print.
- Press to print.

